How much time do you or your team spend reinventing the wheel? Every new report often means starting from scratch: formatting charts, setting up tables, and trying to remember the company’s official color scheme or specific patterns with their meaning. This repetitive work is not only inefficient, but it also leads to inconsistency, where reports from different departments look and feel completely different, making them harder to compare.
XLBuddy’s Library module can act as your central hub for solving this problem. Think of it as a set of official blueprints for all your reporting needs. It’s your personal (or shared!) repository where you and your team can save, manage, and reuse your best chart templates, table styles, and report layouts. This guide will show you how to use the Library to build a consistent reporting culture, save valuable time, and ensure every report is consistent and professional.
‘Library’ is a dedicated ‘database’ that can store your custom elements for further reuse. You can use it to store your custom reports, formulas, slides or presentations, to use them later or share them with other team members.
Library has two, separate ‘databases’ – one for Excel, one for PowerPoint. They are technically the same, but they store different types of elements within them.
Excel Library allows you to store and retrieve the following elements:
PowerPoint Library, on the other hand, allows you to store and retrieve the following elements:
There are theoretically no limits as to how many elements you can store in the library, but please be aware that storing tens of 200 megabyte Excel or PowerPoint files might slow down this module. Still, we have heavily optimized the performance, so for any ‘realistic’ use cases, you will not reach the maximum possible capacity.
There are various features of the Library module and they are common for the Excel and Power Point versions.
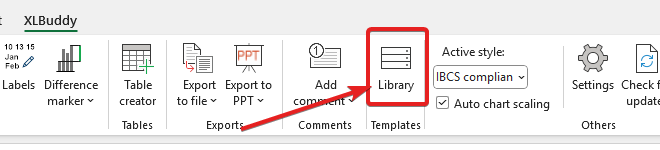
You can access the library by clicking a ‘library’ button on the ribbon:
A new window will appear:
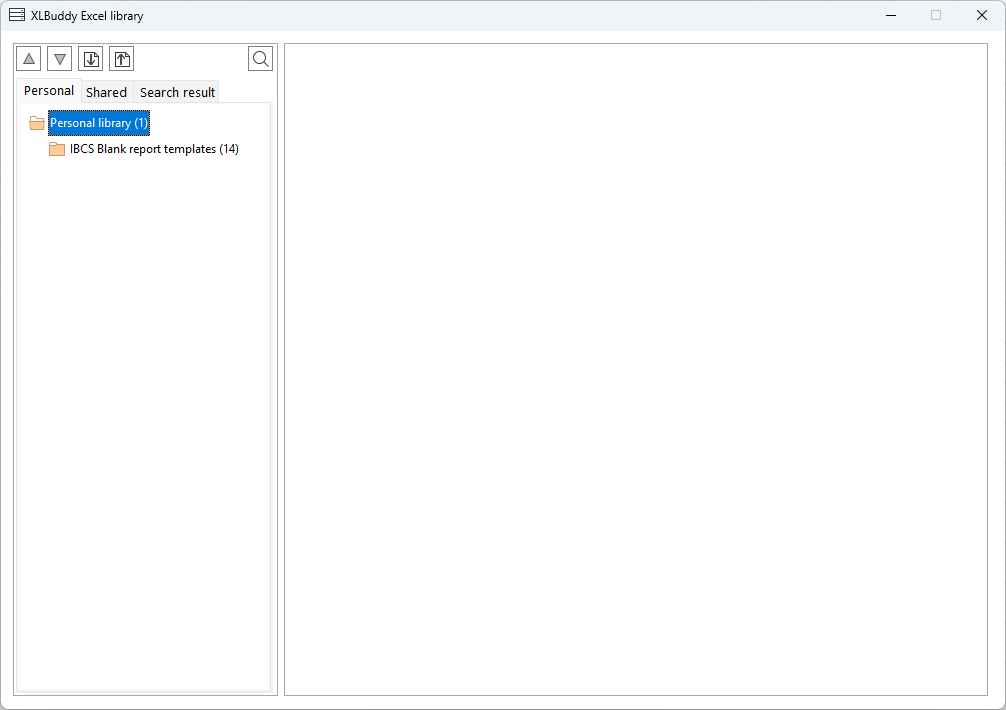
Library consists of the Personal and Shared sections (which are discussed further in this article, in point 4). You can create multiple folders, rename them, re-arrange and search through anything. Now, we will describe the basic features, so you will know what you can do with this awesome module.
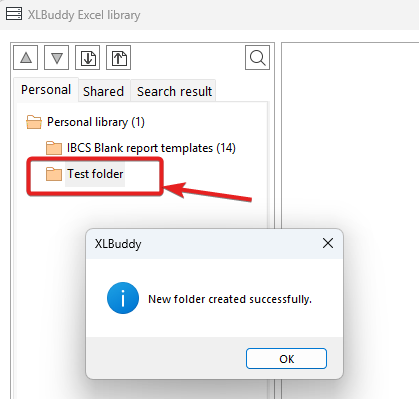
You can add folders to the library. To do it, right click on the main folder icon and click “Add folder”:

After setting a name and clicking “OK” your new folder will be created:
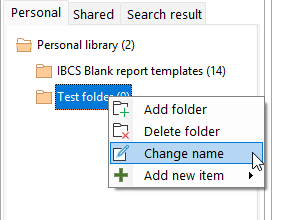
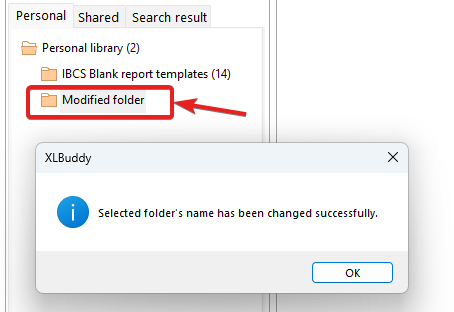
You can create folders within folders, however you want. If you make a mistake or want to re-name the folder, right click it and select ‘Change name’:
After confirming the new name, it will be changed:
To delete the folder that you don’t need, right click it and choose ‘Delete folder’.
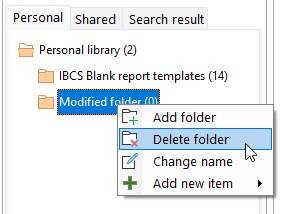
Be advised that all elements within that particular folder will be deleted and you will not be able to retrieve them! If you want to keep them, you need to move them somewhere else or export them and import back again.
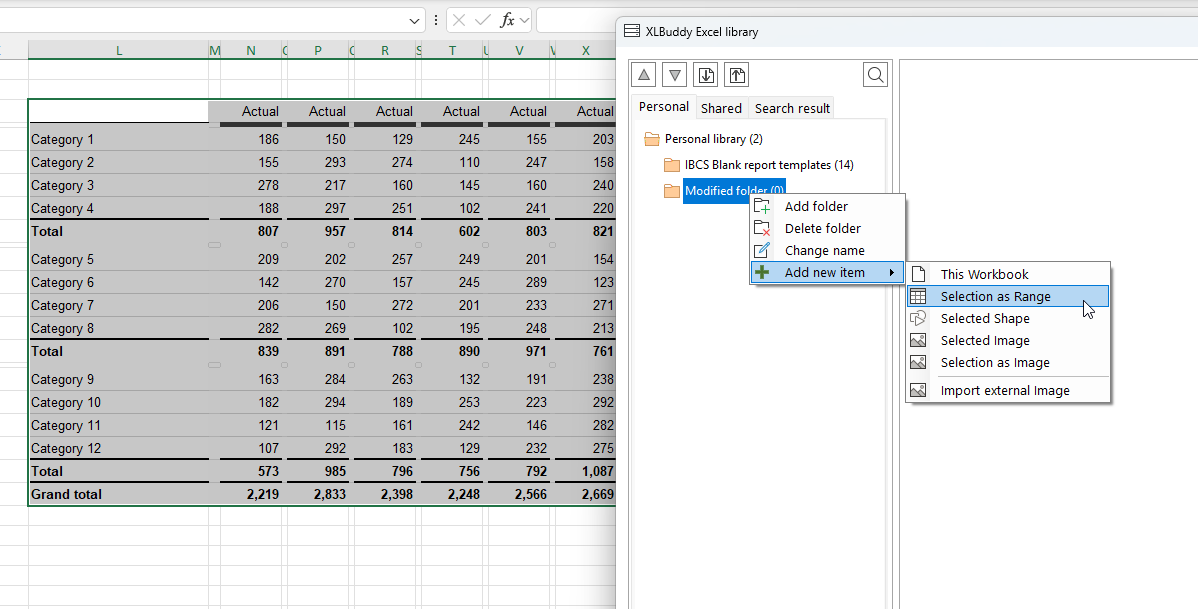
To add a new item to the library, right click on the folder that will hold the newly added element and click ‘Add new item’. Then you will need to choose what you want to add, depending on your need and selection. When a shape is selected, you cannot add range, so you need to make sure that you selected a correct item and then click the correct button.
For the sake of demonstration, let’s add a table created in Module 8 of Getting Started guide to the library. It is a range, so we can select the table, right click our new folder, select “Add new item”>”Selection as Range”:
After typing in the name for our new element, the table will be added to the folder:

When you click on an item, you will generate a preview of it in the center part of the Library window and as we can see, it is indeed our table:
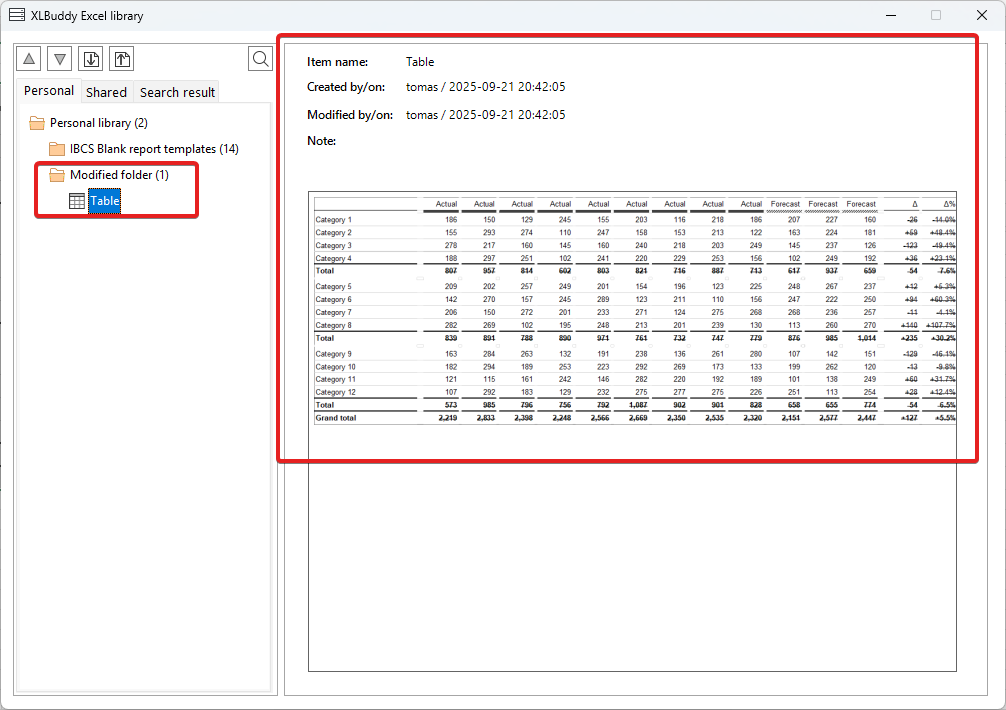
You will also see who created (added) this item to the library, when and any notes that are added to the item.
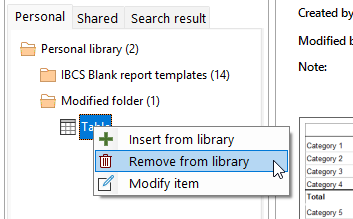
To remove an item from the library, right click on an item and choose ‘Remove from library’ button:
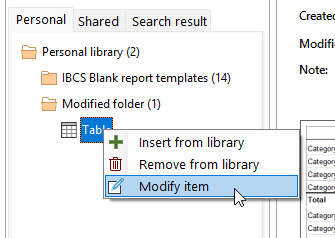
Once your items are in the library, you can edit them. To do it, right click on the item you want to edit and click ‘Modify item’ button:
You will be presented with a dedicated screen where you can modify some of the item properties:

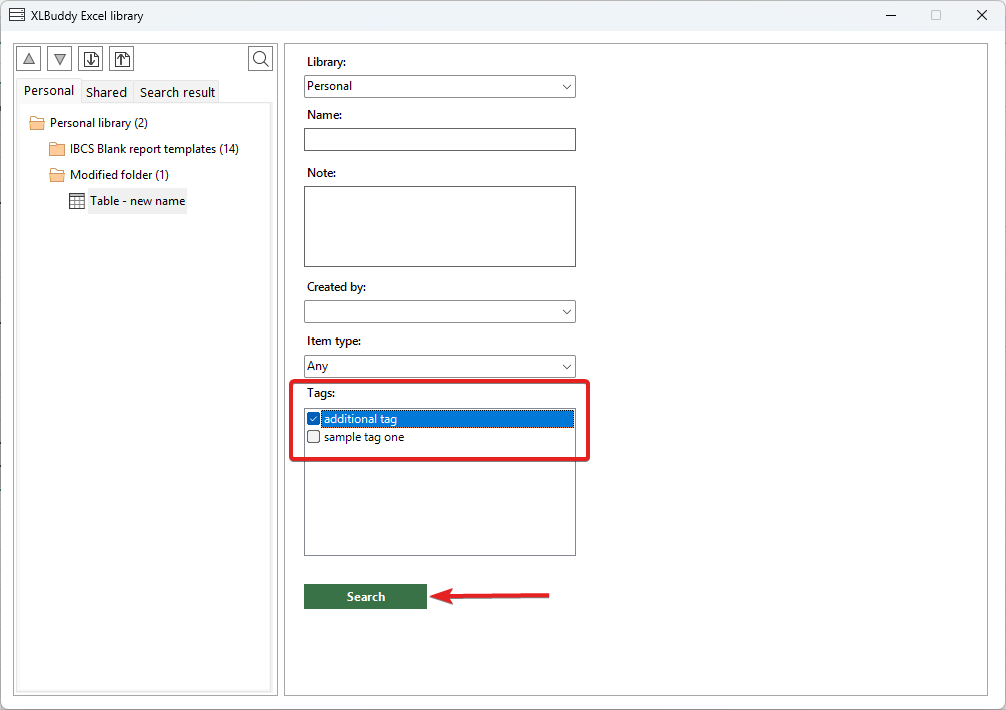
On this screen you can edit the item name, add a note and also add tags. Tags can be helpful for your search, for example, you can store multiple different table designs and add specific tags to them. This will help you when you want to find ‘that one particular table’ and the names are not explanatory enough.
To add a tag, click on the ‘Add tag’ button, type the name and it will appear in the box.
Once your changes are done, you need to save them by clicking the dedicated button in the top right corner of the window:

When you have many different items in a library, you might want to use Library ‘Search’ functionality. To activate it, click on the magnifying glass button:

You can search your library using many different attributes:
The above options allow you to narrow down your search dramatically. Once you choose some options (we will choose a specific tag), click ‘Search’ button:
Your results will appear on the left part of the window and you can do whatever you want with them (edit, insert etc.).
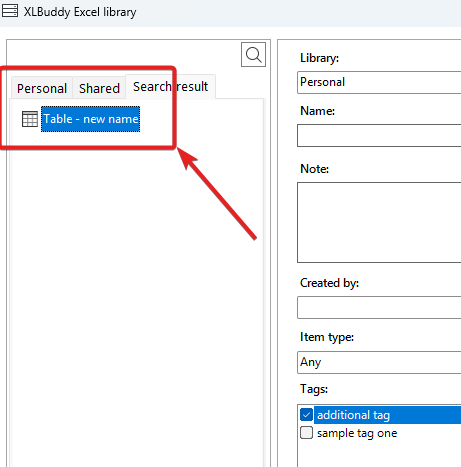
If multiple items match the criteria, you will see all the items.
When you have many folders and items, you might want to rearrange them. Their order, move an item from one folder to another. To do that, you have two options:
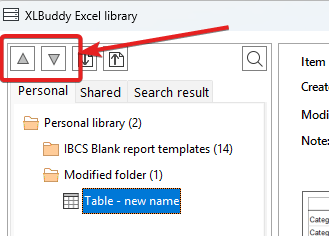
1. Click on an item and use arrows at the top:
2. Drag and drop specific item from one place to another.
Both options will give you the same result – use the one, which is more convenient for you.
To insert an item from the library, simply right click on it and click “Insert from library” button:

Item will be inserted from the library into the Excel or PowerPoint, or opened if you decide to ‘insert’ the Excel workbook or PowerPoint presentation.
If you insert range, slide, shape etc, they will be inserted into your active selection.
You have the ability to import and export specific library items. It can be useful if you want to share them with your colleagues.
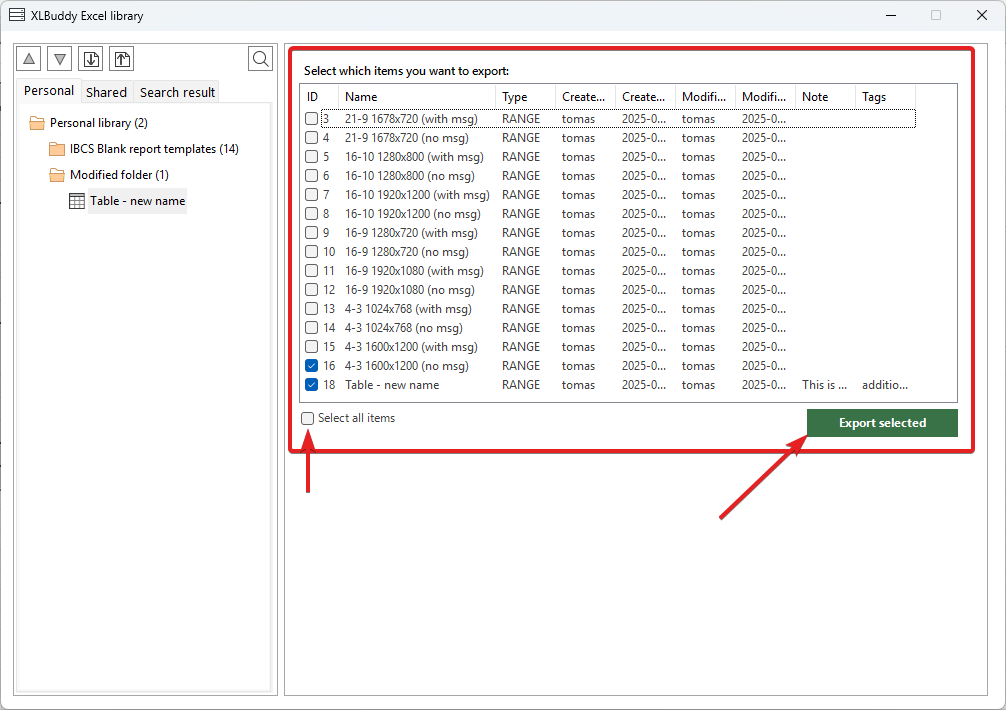
To export an item, click the ‘Export’ button at the top of the library window:

Then, you will be presented with the list of all library items. You need to select, which items you want to export (or click ‘Select all items’ if you want to export the whole library). Once you select the items, click ‘Export selected’ button:
You will be asked to select a folder where the export will be saved:

And that’s it, you have successfully exported selected library items!
To import library items, you need to have a valid ‘exported file’. To import it, click on the import button in the top part of the library window:

You will be presented with the dedicated import screen. You have to select a specific file that you want to import and once selected, you will be presented with the list of items that you can import:
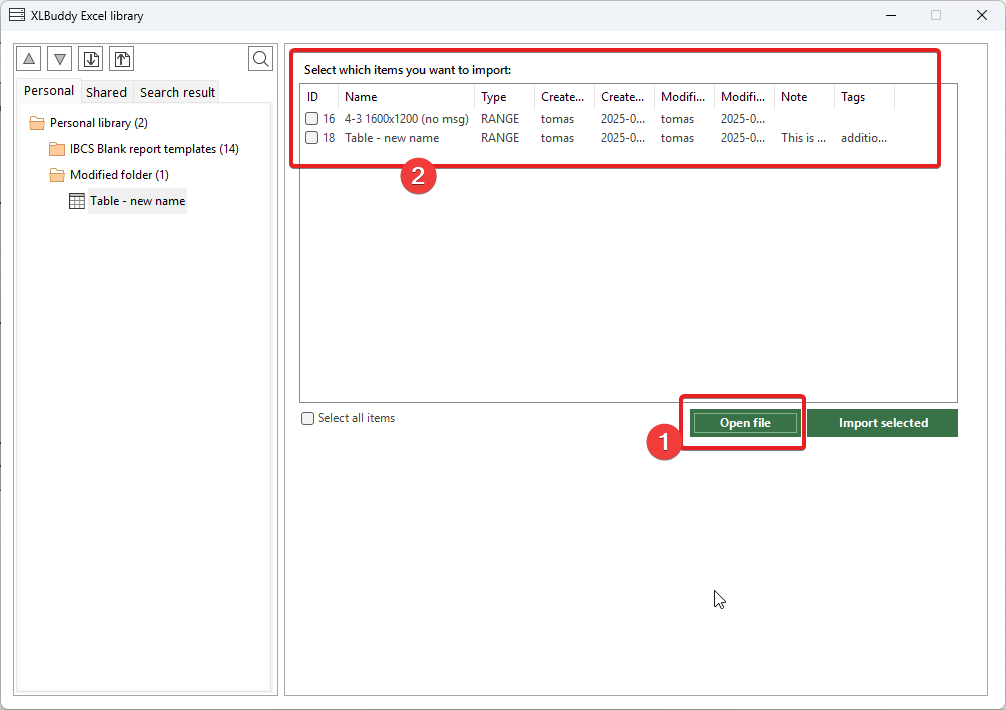
Now you need to select specific items to import and click ‘Import selected’.
We have chosen both items to import and once imported, they appear in a new folder called ‘Import’:

It is up to you if you want to keep them there or if you want to move them somewhere else and delete the ‘Import folder’. We recommend to move the items somewhere else, wherever appropriate, and to remove the ‘Import’ folder entirely.
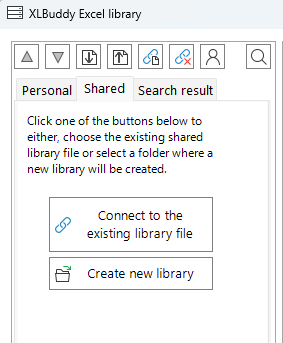
XLBuddy’s library has two modes – ‘Personal’ and ‘Shared’.
Personal library is a library accessible only to you. You can share import and export items to/from it for collaboration but the library itself is yours and yours alone.
The ‘Shared’ library can be created anywhere the creating user has access to and then connected to by multiple users, for example team members. It can open multiple different ways to collaborate with your reports, visuals, tables etc.
In library window, at the start, have two options:
To connect to the existing library, you need to select the library file and then type the login credentials provided to you by the library administrator.
To create a new library, you need to define the following elements:

Please note that there are some basic security measures built into the library (loging system, basic encryption of some elements, password hashing and others) but you should keep your library files secure. You should think about the library files like about any other Excel file.
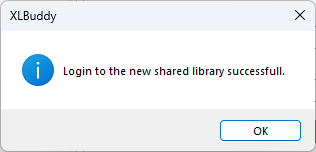
Once all details are set, click ‘Create a new shared library’ button. After a few seconds, a new library will be created and you will be logged in as an administrator.
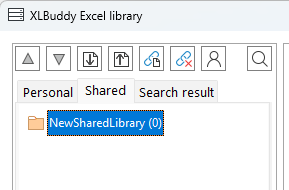
The library will behave exactly like the personal library, with the distinction that it can be accessed by other users if:
As an administrator, you can add, edit or delete users. To do it, click on the ‘Users’ button in the top part of the library window:
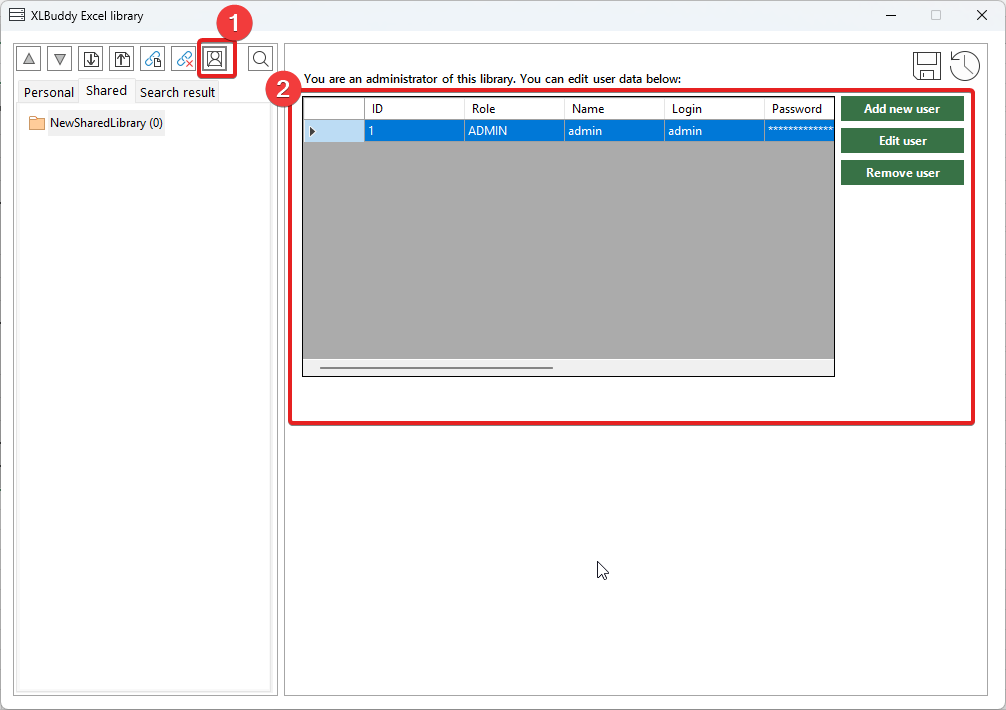
Remember to always click ‘Save’ button in the top right corner after making changes.
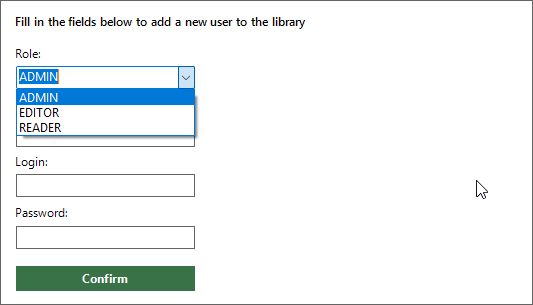
When creating new users, you can set a specific role:
We recommend the shared library to have a single admin and limited number of editors. We have made sure to allow concurrent access but due to some limitations, it is not advisible to allow multipl editors to work on the library.
It is also a good practice to keep the number of people who can “mess up” as limited as possible.
Again, please note that the logging system and basic security is to simply ‘streamline’ the workflow with the library. It does not provide a robust security so keep your file as secure as you would with any Excel/PowerPoint file.
The share mode of the XLBuddy’s library is an awesome opportunity to collaborate with the shared repository for reports, slides, presentations and other templates, but it is up to you to ensure the proper, good practice in using it.
Shared libraries allow you to connect and disconnect from them. While you can have a single connection to the ‘shared’ library in one moment, you can disconnect and connec to another one if you wish to.
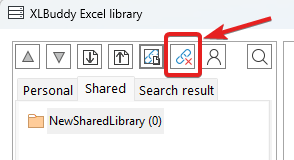
To disconnect from your existing connection, click the ‘Disconnect’ button:
After a few seconds, you will be disconnected:
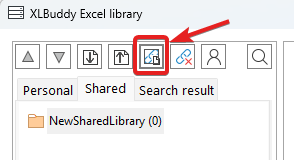
In case you would like to open a folder where your currently connected ‘shared’ library is, click this button:
When you are disconnected from the library – click ‘Connect to the existing library file’:
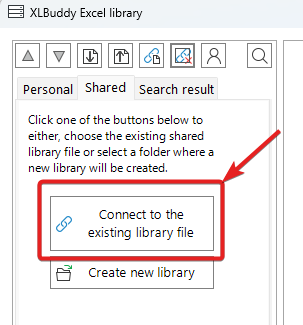
When you select the file, you will be presented with the login screen. Enter necessary credentials and you will be connected to the library:

Once connected, you can use the library as usual.
While we made a great effort to let you use the library within various environments, like different setups of network drives, various configurations of onedrive etc., we can not and do not guarantee that the shared library will work perfectly within your environment. We will do our best to help make it work but we cannot guarantee it.
We hope that you understand that some very strict and closed IT environments might make it unable to use the shared library functionality. In such case, we recommend to stick to the personal library mode and share the templates using the export/import functionality. You can also set your own ‘shared’ library to have two libraries at your disposal – this can also be very helpful.
The Library is more than just a place to store templates – it’s the foundation of a scalable and consistent reporting strategy. Stop rebuilding the same reports over and over. With the Library, you can build on the best work of your team, ensuring every report you create is clear, consistent, and ready to use.
In the next module, Module 10, we will see how to export your reports or specific visuals directly to PowerPoint and ‘link them’ – allowing you to keep the data in sync and refresh large decks in just three clicks.
We hope you found what you were looking for! If your question wasn't answered here, or if you need more personalized assistance, please feel free to contact our friendly support team here.